I've been seeing a ton of fall inspiration on pinterest lately! I was feeling like a pinterest project needed to happen STAT, and since I had the day off.... it felt like a perfect time to get crafty. Maybe the crisp fall air inspired me... (haha in Texas in September, the only thing crisp are the chips at a tailgate!) Lets just say the pumpkins got me in the spirit of fall early this year.
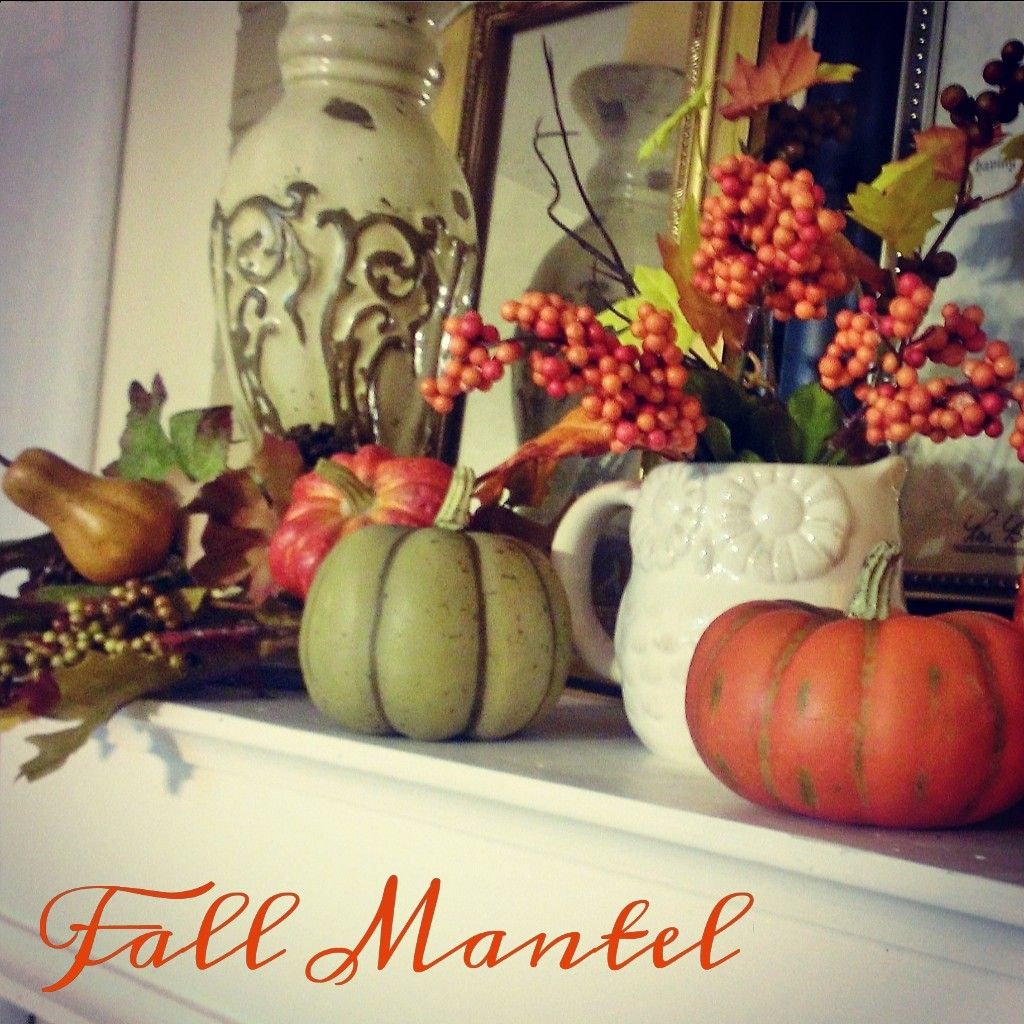
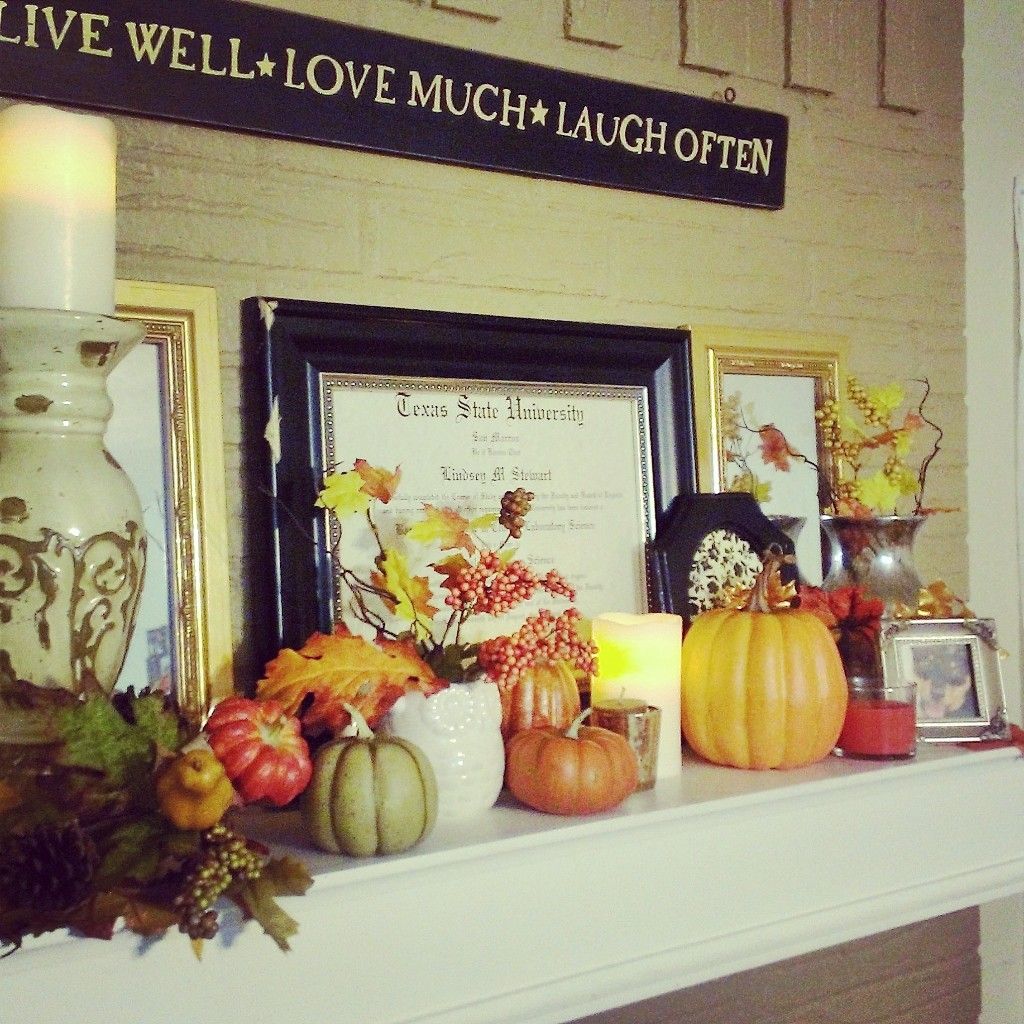
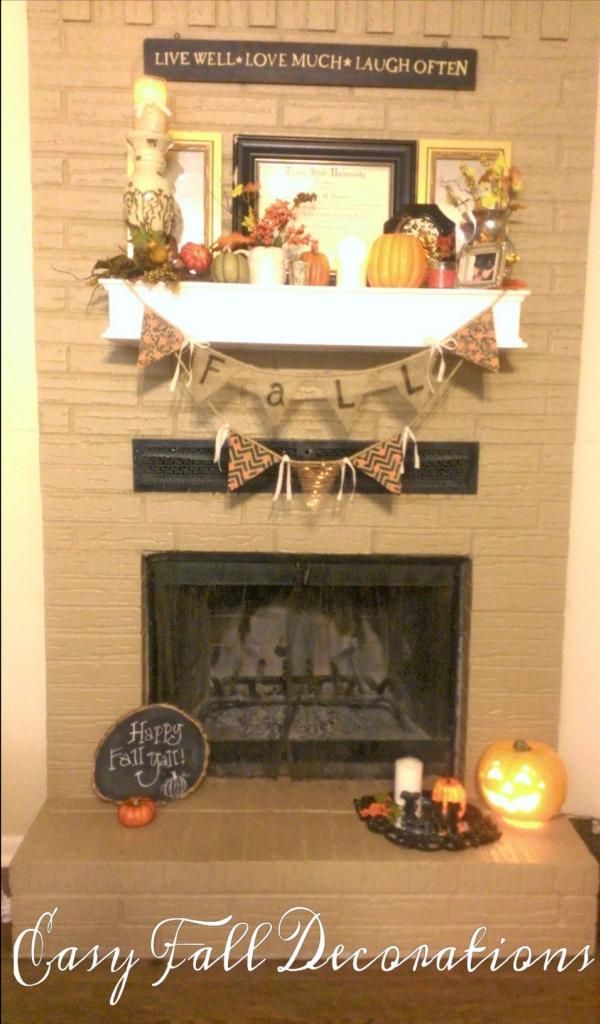
First, the mantel. While grocery shopping I didn't expect to pick up pretty garlands and picks (I got these goodies at walmart people!) but I felt like they were calling me! LOL! I mostly added a few here and there to what I already had. I got the owl mug there, too. Isn't it adorbs? So the mantel was finished... but it needed something more..
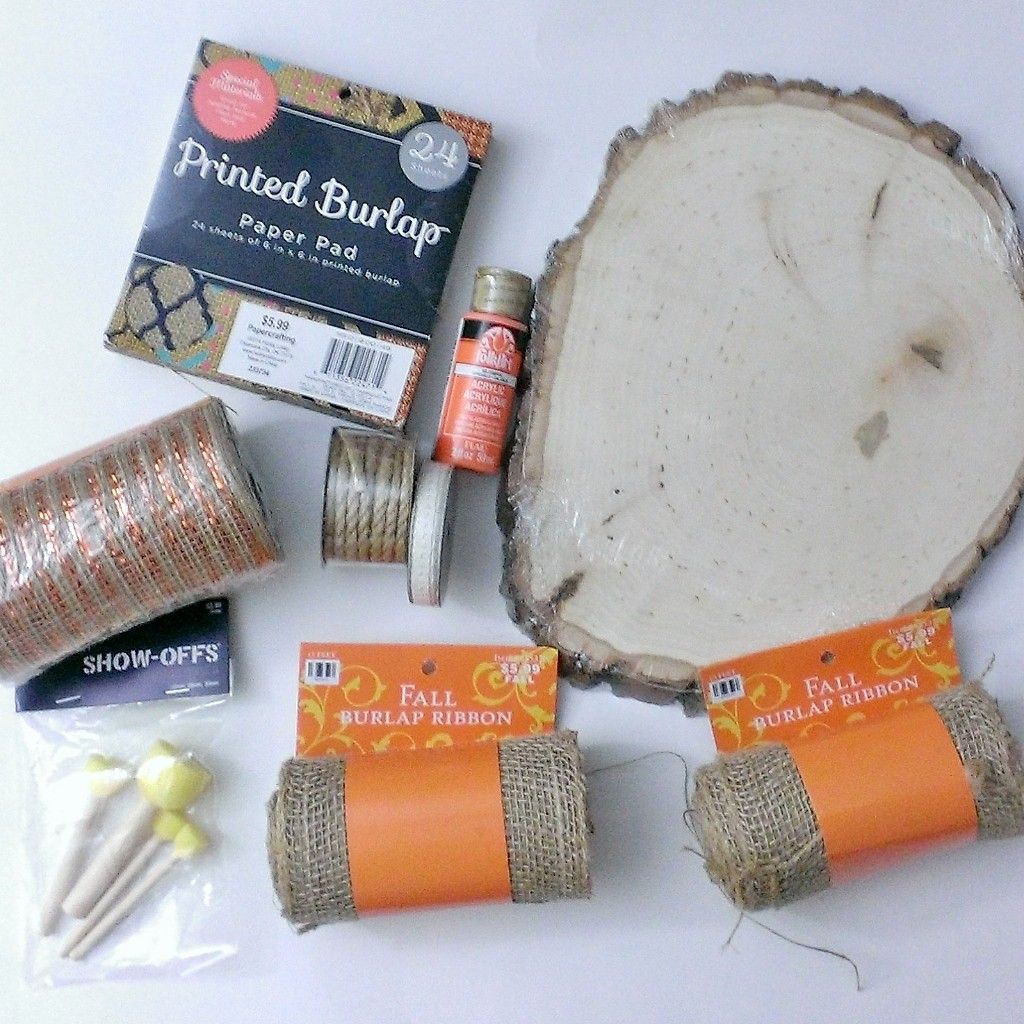
I wanted to make a burlap banner and a chalkboard tree slice so I headed to my local Hobby Lobby store and gathered supplies!! Everything was on sale except the tree slice which was $10.99. I fully intended to use my 40% off coupon on it, pulled my phone out with the coupon ready, but totally forgot to show it to the cashier! I was making sure she was ringing up everything correctly and totally forgot! Bummer! If you have your own tree slice from a tree in your yard that would be so neat to use!! Or you could buy one like me!
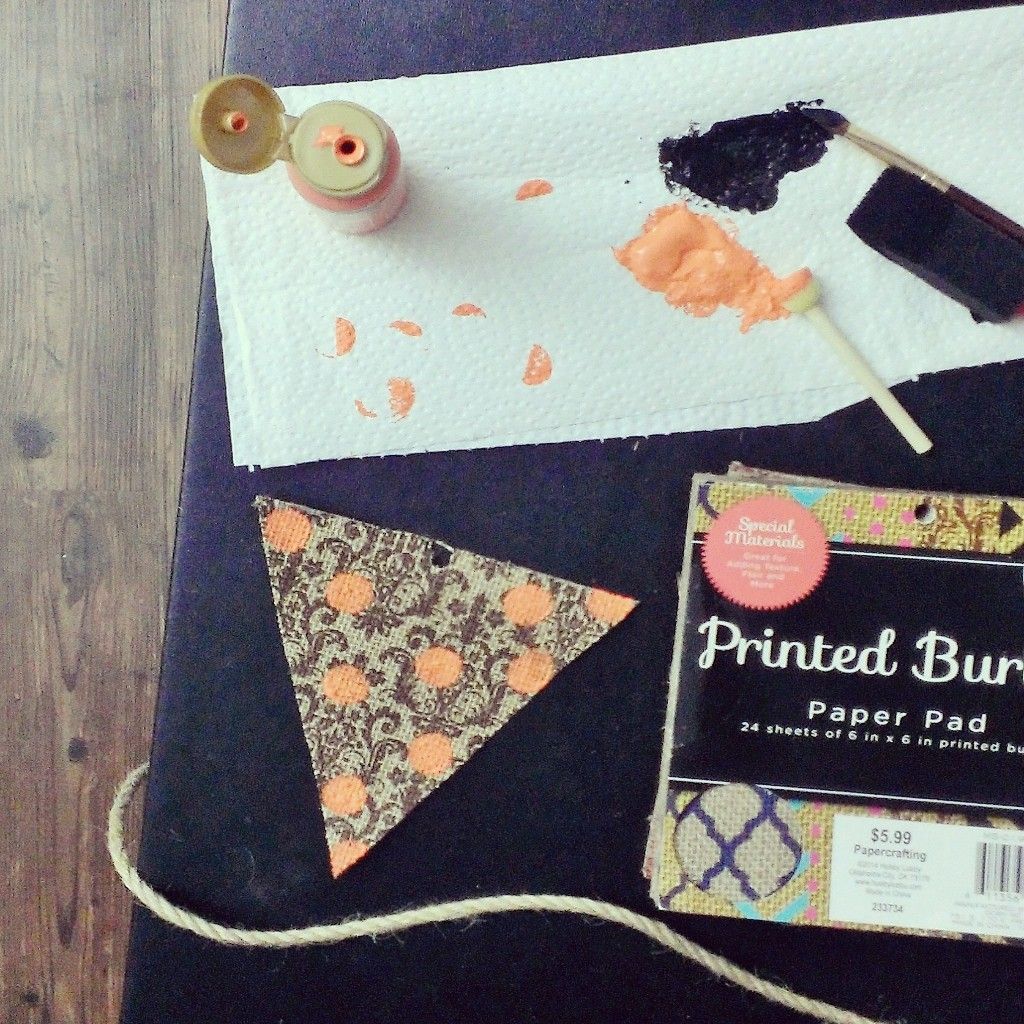
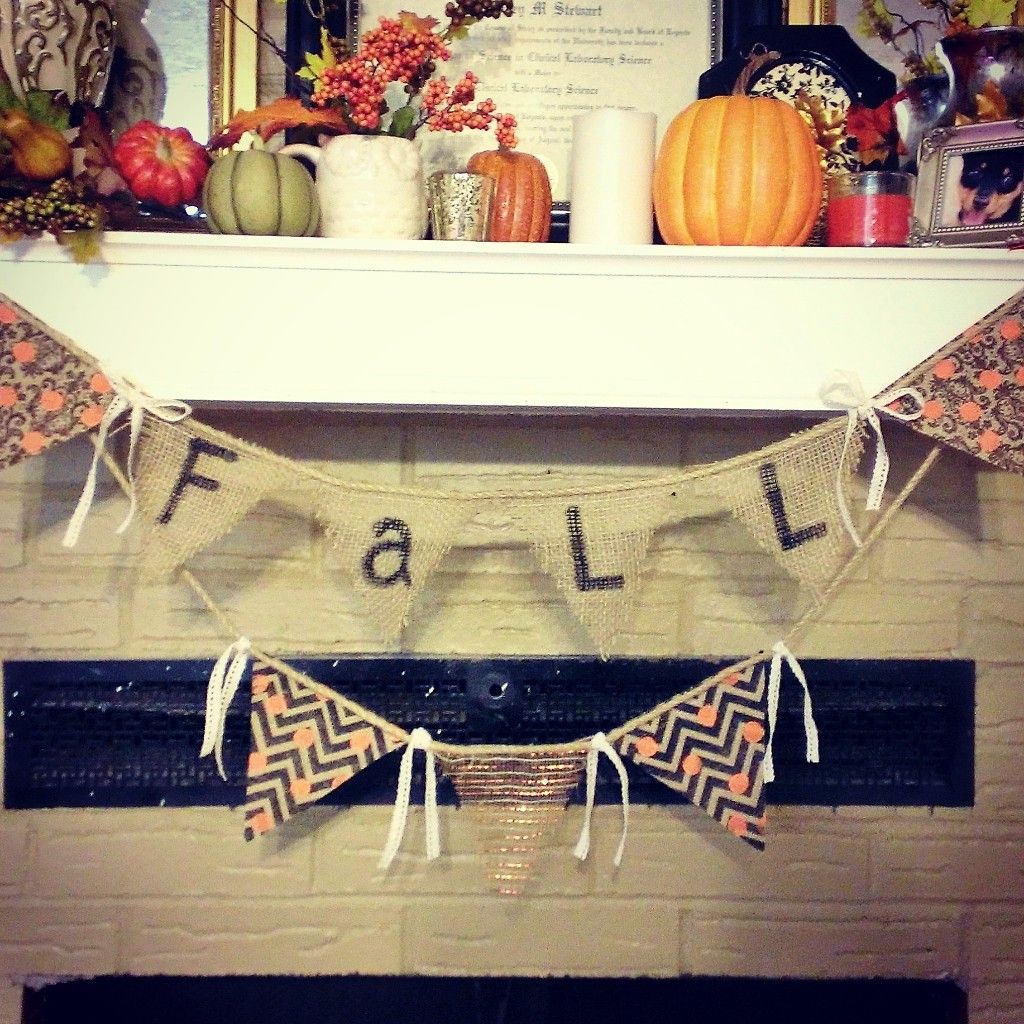
I drew out my shape on the back of a sheet of burlap paper and cut it. I then used that piece as a guide to cut out my other pieces. I wasn't worried about perfection. I liked using the sheets of burlap paper because they are sturdy and I like the fun patterns. I added orange polka dots to the patterned pieces. I painted the letters by hand because I didnt have a stencil or sharpie. I just used some craft paint and a paintbrush.
Once they were dried I hot glued them to the rope and added some lace ribbon...and Viola! Maybe took me an hour from start to finish!
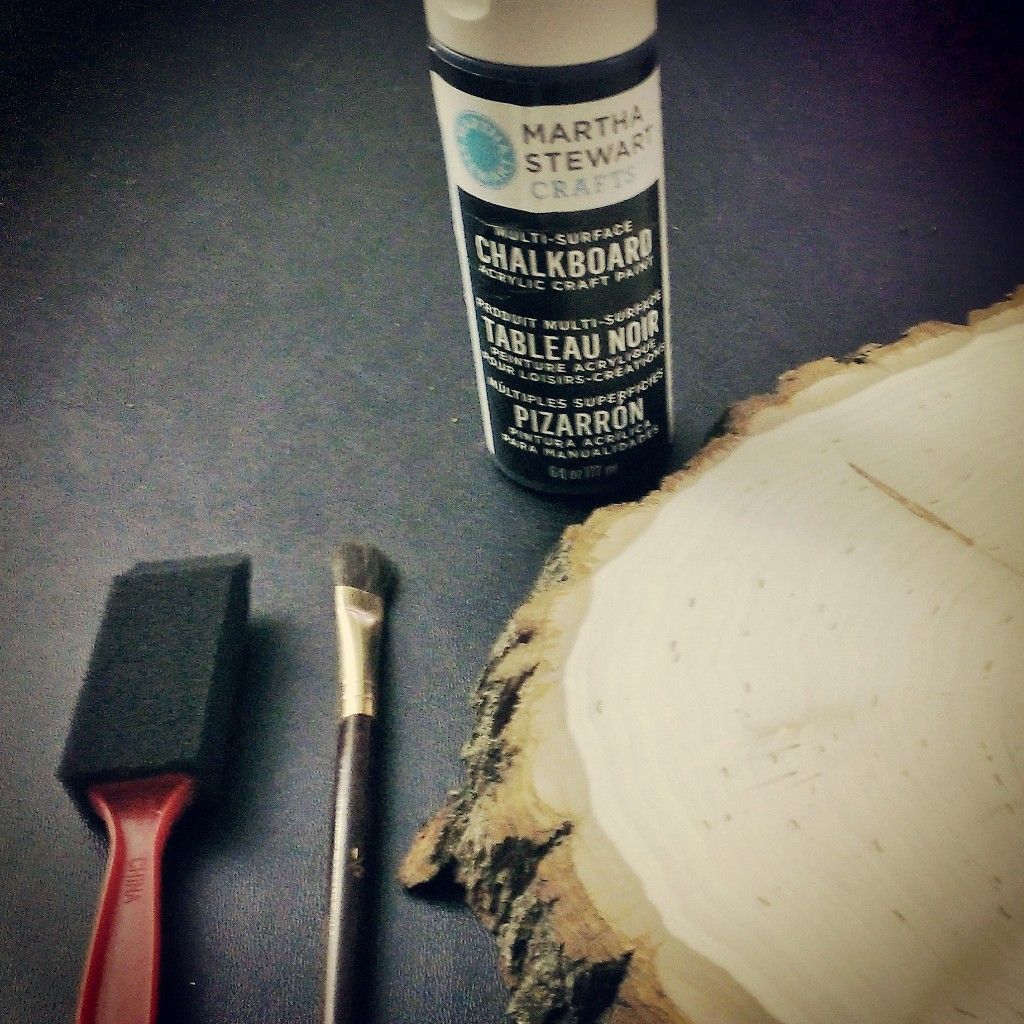
Before I started the banner project I put a coat of black chalkboard paint on the tree slice. I let the first coat dry completely and then added a second coat. I used Martha Stewart's brand chalkpaint.
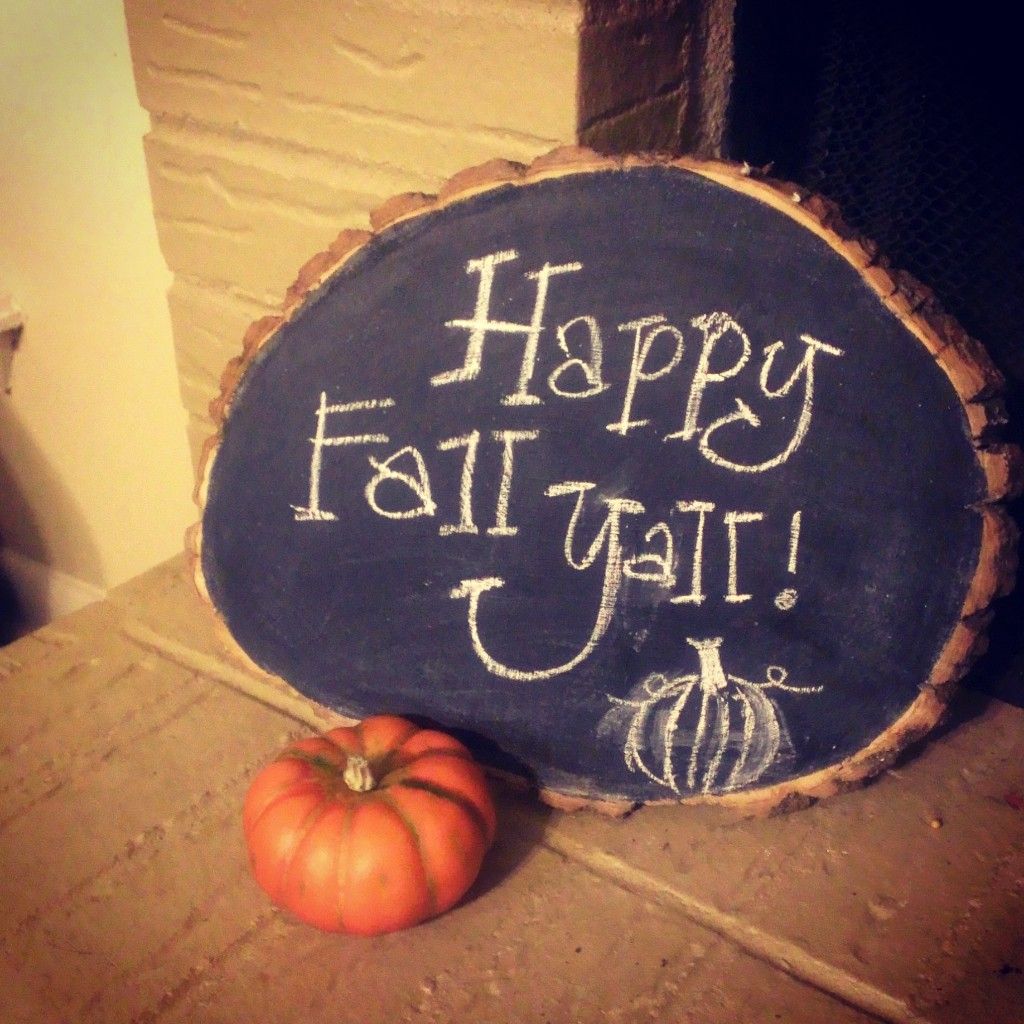
After the second coat dried I primed it by rubbing a piece of chalk over the entire surface. Then I used a wet paper towel to clean off the chalk. (I simply followed the instructions on the paint bottle). Then I wrote my message and displayed it on my fireplace! I can't wait to use this and write greetings for all the different seasons!
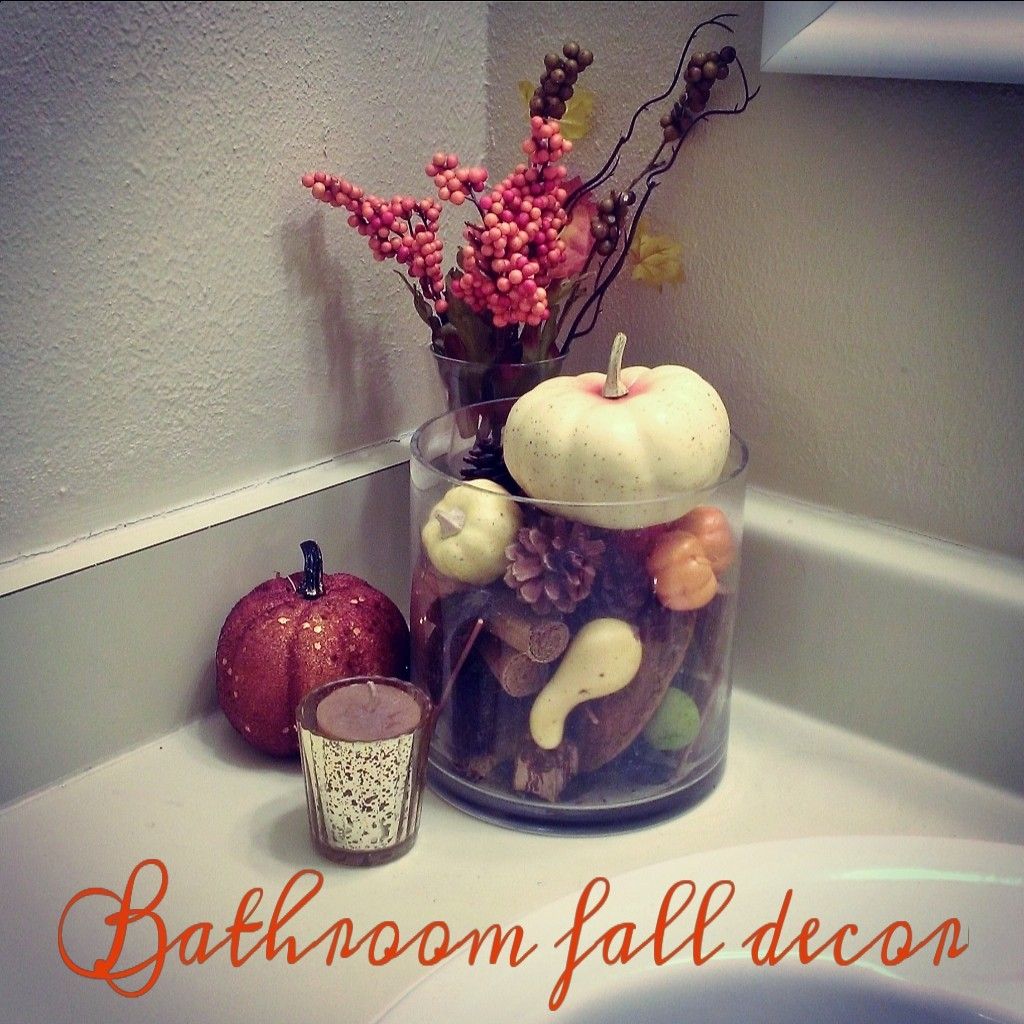
I had some extra bits and pieces so I used it to spruce up the downstairs bathroom! (Because why not look at pretty stuff while you're on the pot LOL!)
So there are my 2 easy DIY projects for fall that you can add to your home! I hope you were inspired to create something for your space! And if your mojo is a little low, let pinterest inspire you! Turn some of those pins into projects!
Happy Fall Y'all!
- the crafty love girl

No comments:
Post a Comment